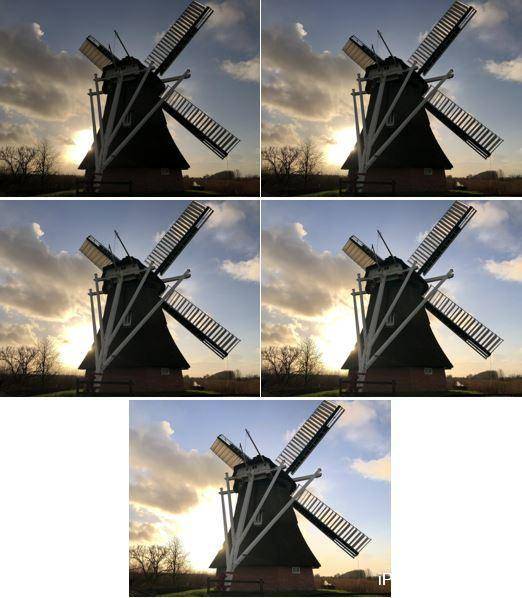
What is bracketing?
Bracketing is a function that is available on professional SLRs. With bracketing you can take a series of photos of the same scene with different settings, so that you can select the best later. Bracketing is usually used to try out different exposures. Often you can also take a series of photos with different white balances or focus points (for focus stacking). In this blog I explain how an exposure bracket and a focus bracket work and which iPhone bracketing app you can use for that.
iPhone bracketing app
There are many camera apps in Apple’s App Store, but they do not all have a bracketing feature. The iPhone camera app CameraPixels does support bracketing. In this app you can select a bracketing mode and choose between the bracketing types Exposure bracket and Focus bracket.

An exposure bracket
Create an exposure bracket with the iPhone bracketing app
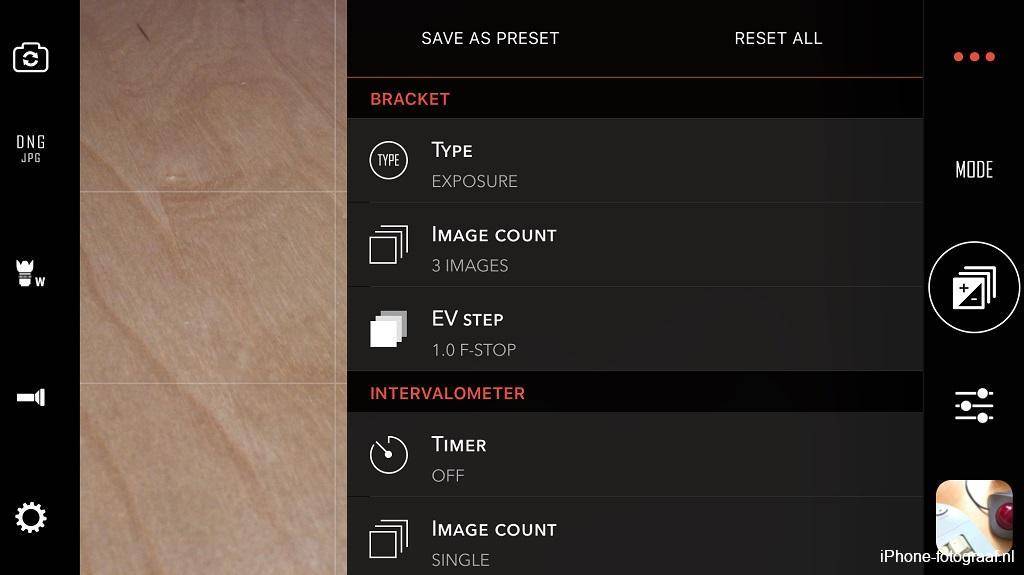
For the bracket type exposure bracket, you can specify in CameraPixels how many images you want to create and set an EV step. With the EV step you indicate how much the exposures of the photos should differ. The camera app then takes the chosen number of photos with different exposure times. In the general settings of CameraPixel you can select the minimum exposure value step. By default, this value is set to 0.5 F-stop.
In the general settings you can also indicate whether you want to use the volume button to capture. You can then take a photo with the volume button of your EarPods to prevent vibrations.
Example of an exposure bracket

As an example, I created an exposure bracket with an EV step of 1.0 F-stop and 3 images. With a 1.0 F stop, the amount of light is doubled or halved. The camera app then takes the first picture with an underexposure of 1.0 F-stop, the second picture is normally exposed and the third picture is 1.0 F-stop overexposed.
 – 1.0 F-stop – 1.0 F-stop |
 Auto exposure Auto exposure |
 + 1.0 F-stop + 1.0 F-stop |
What can you use exposure bracketing for?
- You can create an exposure bracket in difficult light conditions, where the automatic exposure tends to overexpose or underexpose.
- You can merge a series of photos (bracket) into an HDR photo. If the light is contrast rich, details can be lost in the dark and light areas. With a special app (for example Affinity Photo) you can combine the different photos into one HDR photo, in which the details in the dark and light parts are preserved. For the best results, I recommend using a tripod with a smartphone holder and take the photo with the volume button of your EarPods. Also make sure that there is no movement in the scene.
Create a focus bracket (for focus stacking) with the bracketing app
For the bracket type focus you can specify the minimum and maximum distance and the number of photos. The camera app CameraPixels will then take a series of photos that are focused at different distances.
More depth of field
You can use a focus bracket to increase the depth of field of, for example, landscape photos, close-ups and macros. With a focus stacking app you can then merge the photos from the bracket into one photo with more depth of field.
It is important that the iPhone does not move while shooting the focus bracket and that there is no movement in the scene. Use a tripod with smartphone holder and take the photo with the volume button of your EarPods.
Focus stacking
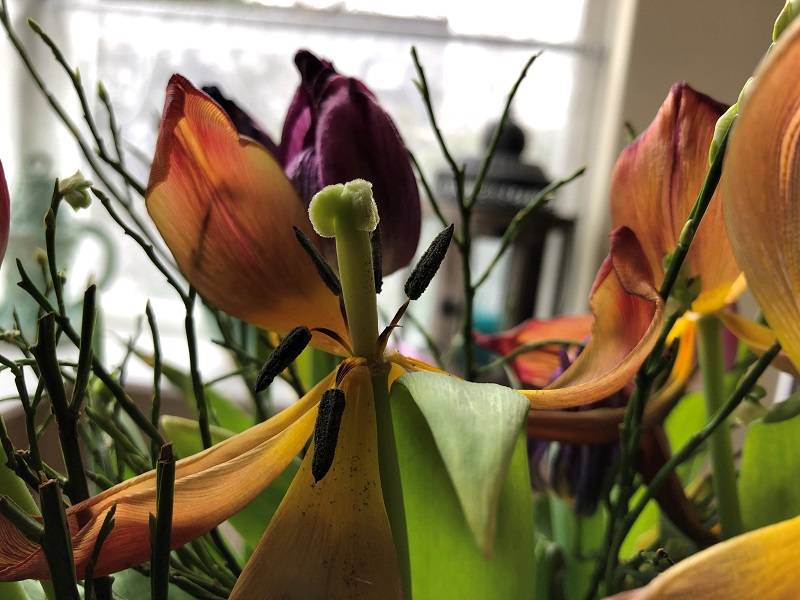
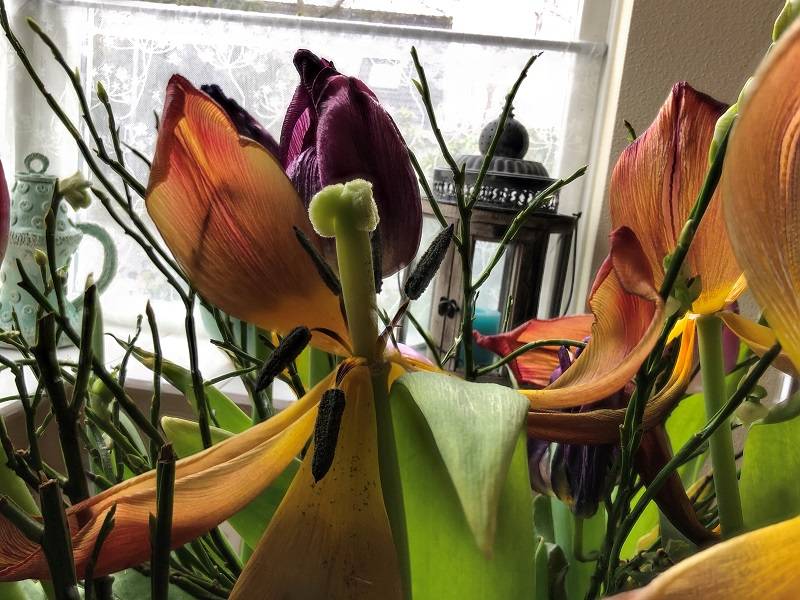
With the Focus Merge function of the photo editing app Affinity Photo I have made the following example.


Video Focus merging in Affinity Photo
Conclusion
Bracketing I mainly use to make multiple RAW photos with different exposures in difficult lighting conditions, so that I can choose and edit the best later. I have no experience with merging photos into one HDR photo. For HDR I use the camera app Lightroom CC Mobile. This app takes three RAW photos and merges them into one HDR photo.
Downloads
CameraPixels App Store
Adobe Lightroom CC Mobile App Store
Affinity Photo for iPad App Store
Read also my blog about HDR iPhone photography or go to the overview with all iPhone photography blogs.