What is lens flare in your iPhone photos?
Lens flare or sun flare are the stripes and circles that you sometimes see in your iPhone photo around the sun or other bright light and are caused by reflections in your lens. Lens flare can mess up your photo, but sometimes it adds extra atmosphere and drama. In this blog I will tell you how to prevent lens flare or create it with an app on your iPhone. I also show you how you can add beautiful lens flares of SLR cameras to your iPhone photos with an app.
How to avoid lens flare in your iPhone photos?
The lenses of iPhones are getting better and better, so fortunately lens flare is less common. You can try to prevent it by holding your hand above your iPhone camera so that the light does not shine directly into your lens. The lens of my iPhone 6s often caused unwanted lens flares. Now I shoot with an iPhone 8 Plus, the lens of which fortunately gives much less lens flare.
How to create lens flare in your iPhone photos
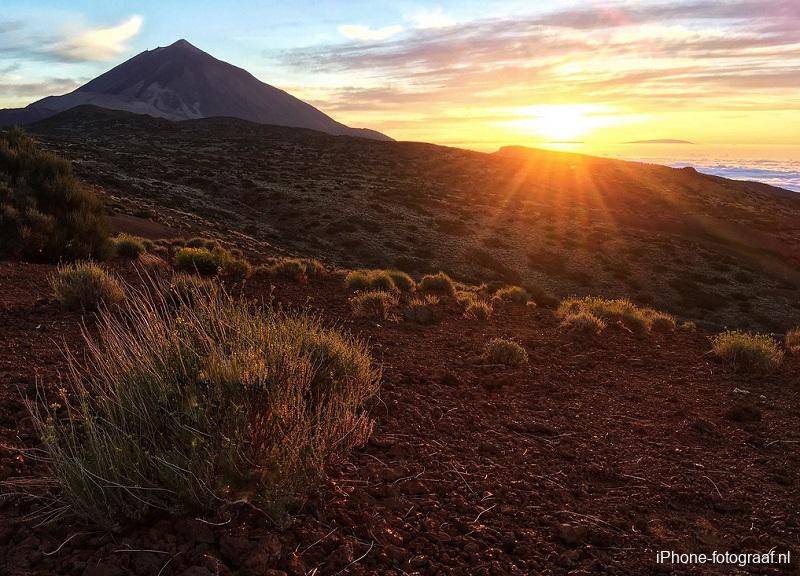
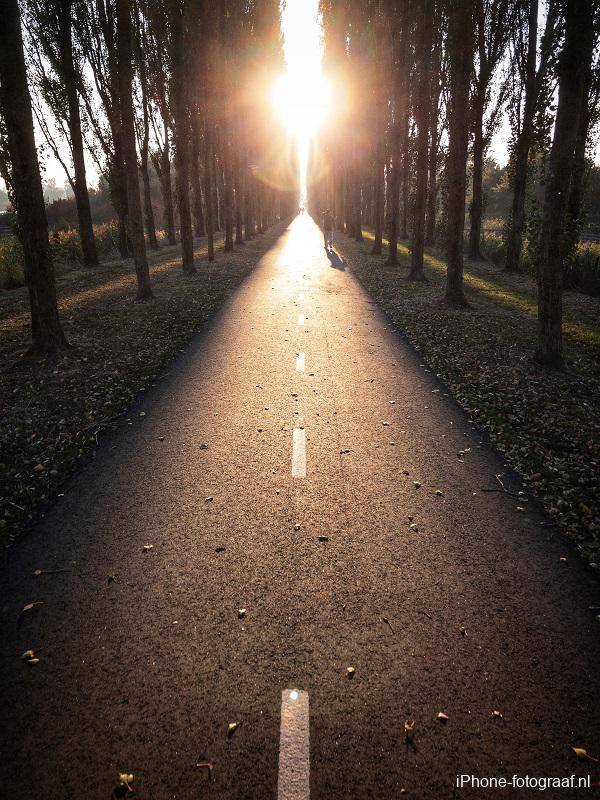
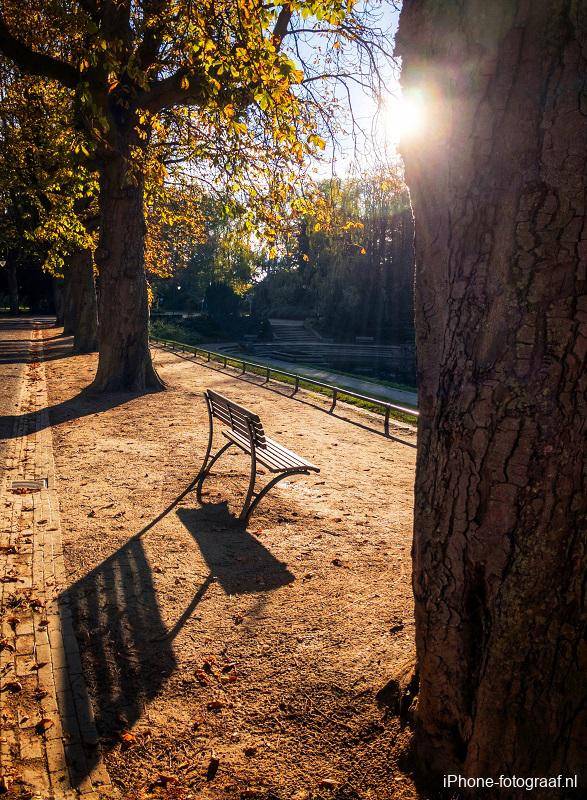
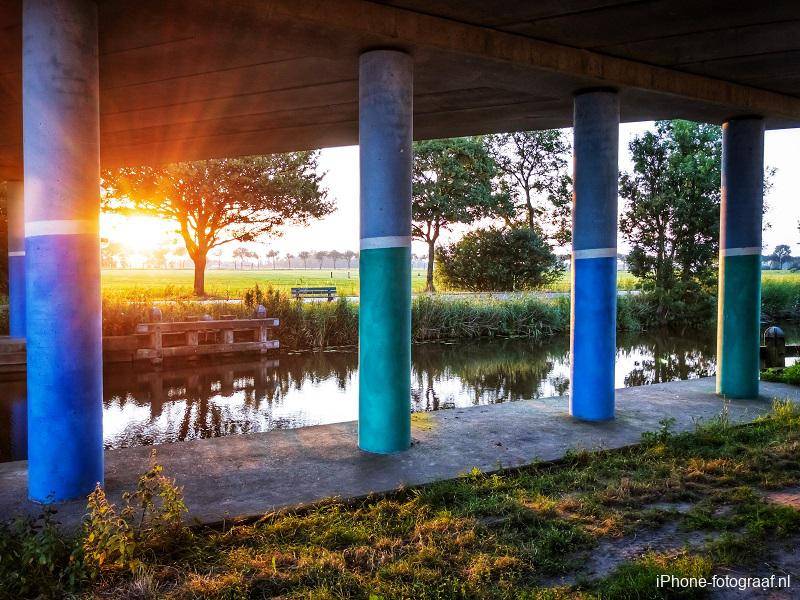
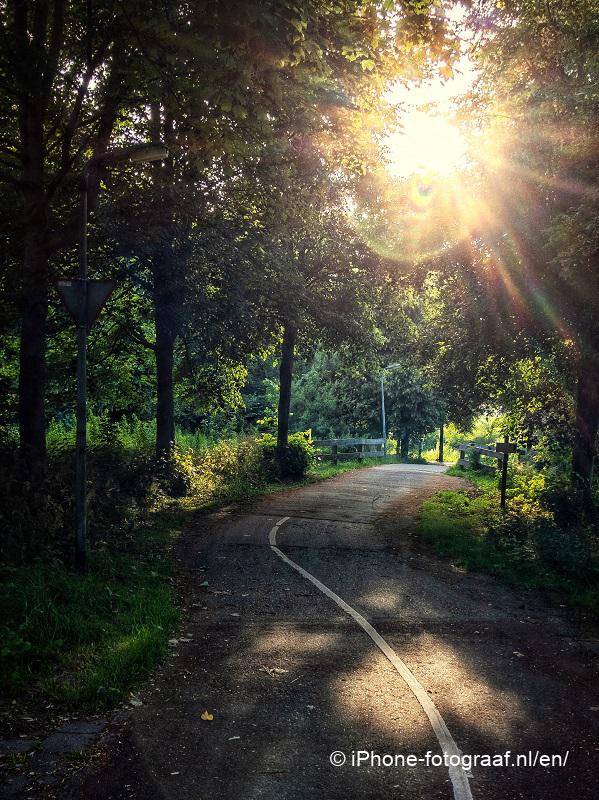
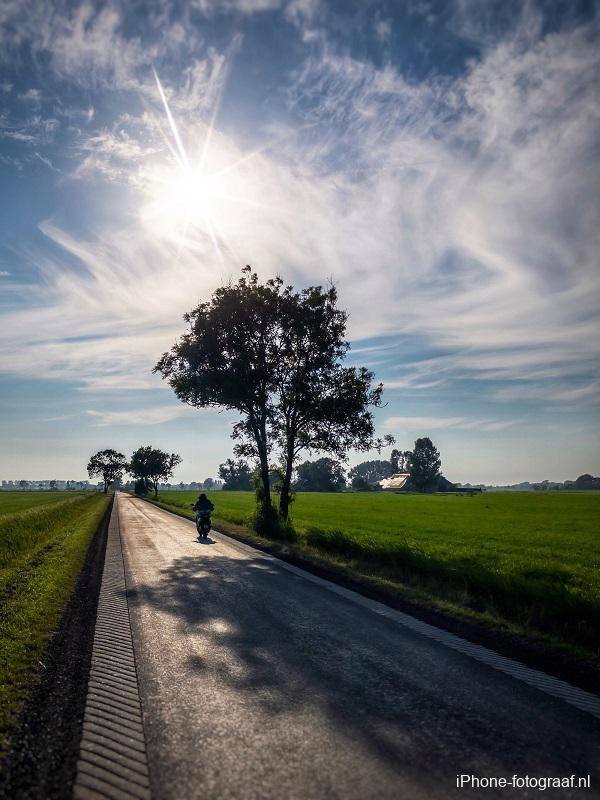
You can create lens flare by photographing directly in the sun and placing it next to a part of the photo. For example, by surrounding the sun with trees and branches that form a dark background for the rays. You can try to take this into account while shooting.
Examples of lens flare
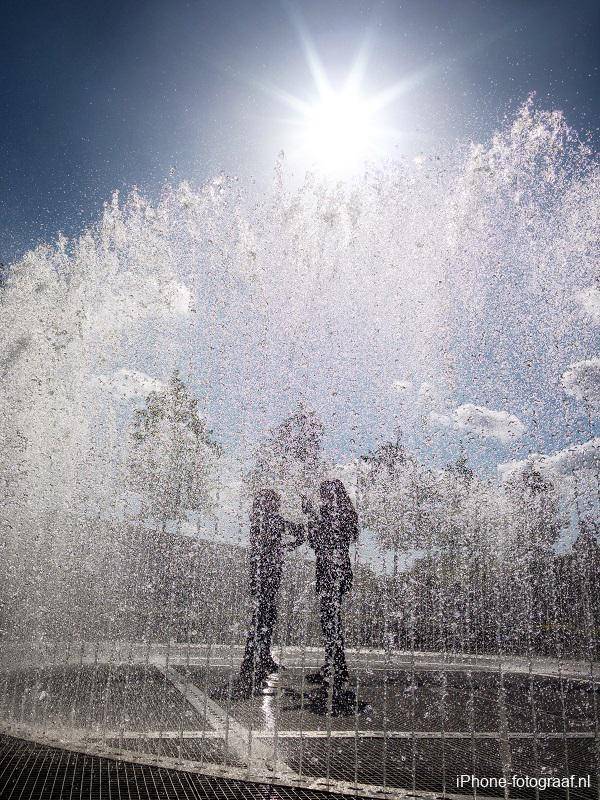
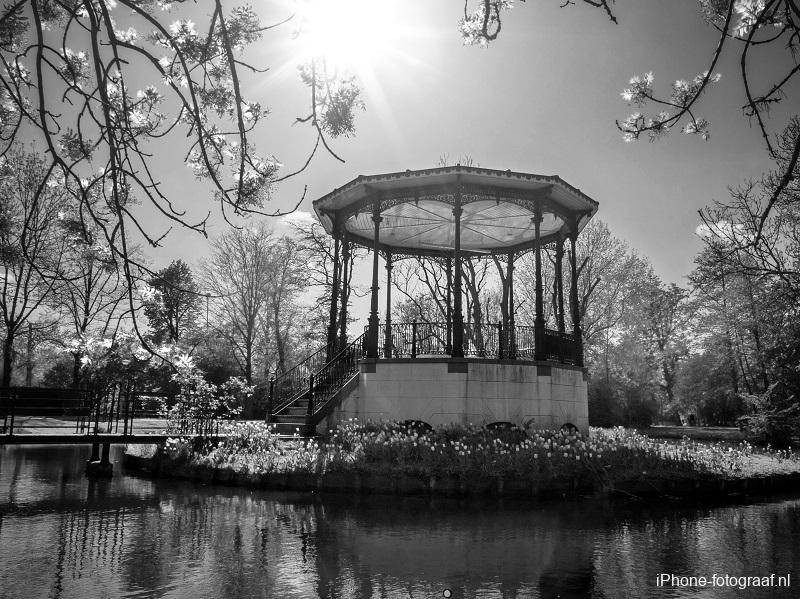
The first photo was made by me with my iPhone 6S, the lens of which is sensitive to lens flare. Sometimes that worked out positively. The photos below were taken with the iPhone 6S (El Teide) and the iPhone 8 Plus.
Add lens flare with the Lens Distortions app
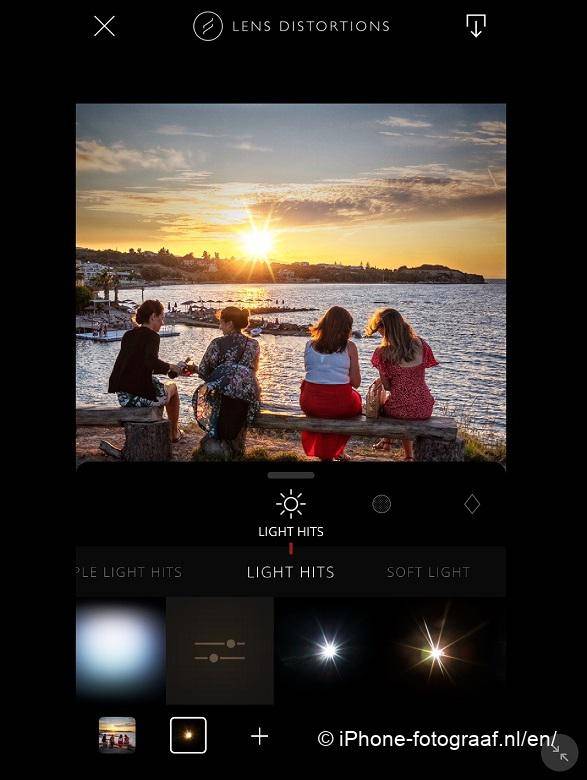
With my iPhone 8 Plus I have fewer lens flare problems. Sometimes I add it with the free Lens Distortions app. With this lens flare app for your iPhone you can easily add lens flare by opening your photo, selecting an effect and dragging it to the right place.
You can choose from a large number of effects that, according to the maker, were made with cameras. With the lens flare app Lens Distortions you can make your iPhone photos look like they were made with an SLR camera.
Video Lens Distortions app
A short manual for Lens Distortions
- Open the app and select a photo.
- Tap Light Hits.
- Tap the row below it and drag your finger to the left. The lens flares can be found under Classic Light Hits, Principle Light Hits or Light hits. There are also effects such as rain, snow etc.
- Tap a lens flare and drag it over the sun in your photo. By pinching with 2 fingers you can shrink it.
- At the bottom of your screen you see the chosen lens flare. You can remove it by continuing to press it with your finger and then dragging it to the trash.
- Tap the sliders to adjust the brightness, contrast, transparency, etc.
- Save your photo by tapping the share button in the top right.
Examples of lens flare added with Lens Distortions
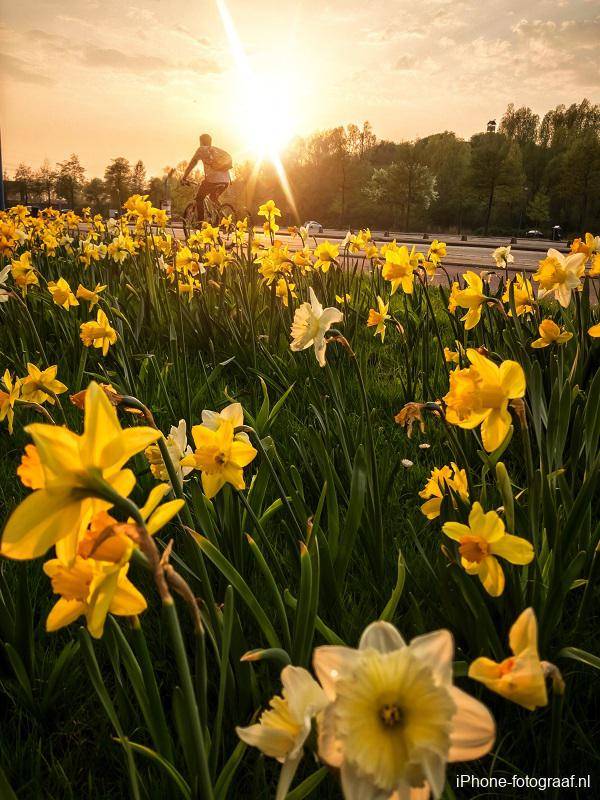
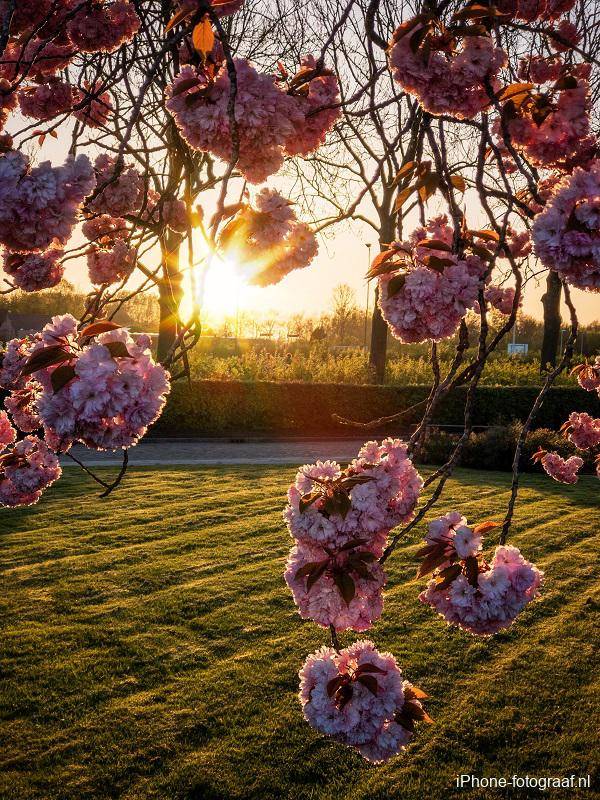
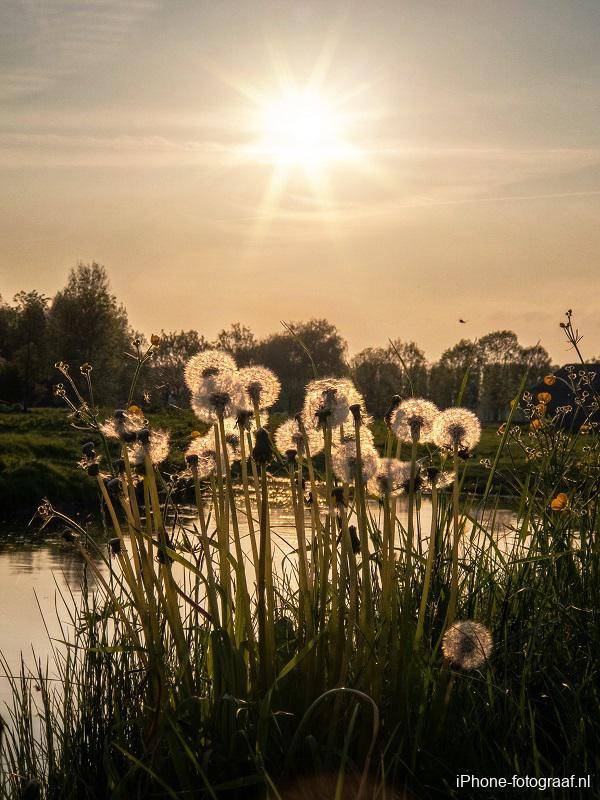
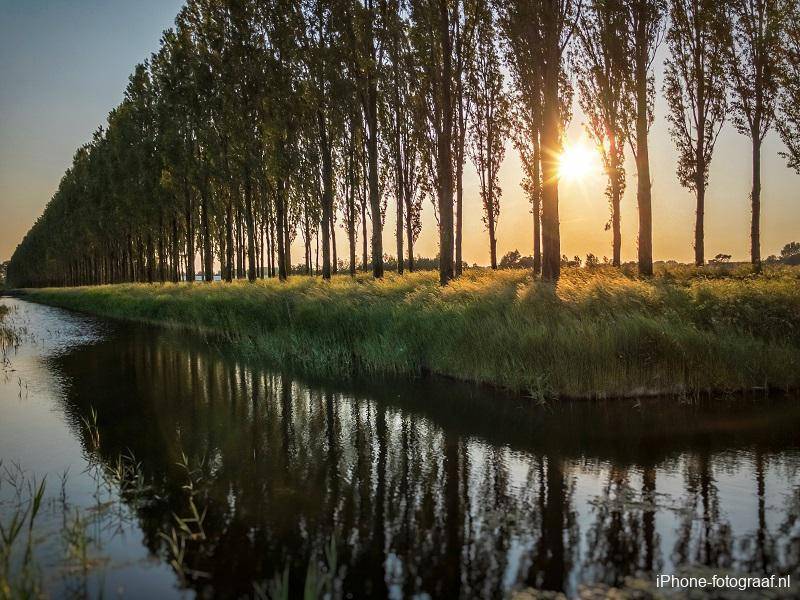
Conclusion
Lens flare can ruin your photo, but it sometimes adds extra atmosphere and drama to your composition. By taking this into account while shooting, you can prevent them but also create them. With the app Lens Distortions you can add lens flares made with cameras to your iPhone photos, so that it looks like they were made with an SLR camera.
Download
Lens Distortions App Store
Also read my blog about HDR iPhone photography or go to the overview with all iPhone photography blogs .