In the Netherlands it is quickly dark again in the evening. That offers many opportunities to get started with iPhone night photography. Night photos become extra attractive when the streets are wet with rain and the pavements reflect the lights of the surroundings. In this blog I will explain how you can use a night mode iPhone camera app, the native iPhone camera app and the night mode of the iPhone 11 and 11 Pro to make beautiful night photos without a tripod.
Content
- The iPhone night photography app Cortex Cam
- Night photography with the native iPhone camera app
- Night Mode of the iPhone 11 and the iPhone 11 Pro
iPhone app for night photography
For night photography with the iPhone there are apps available that quickly take multiple shots with different exposures and merge them into one well-lit and noise-free photo.
My compact camera was for years a Canon Powershot with optical stabilization. This camera had all kinds of presets for difficult lighting conditions. With the night shot preset I was able to take beautiful night photos of illuminated buildings and streets without a tripod. This camera quickly took several photos in a row and combined them into one well-lit and noise-free photograph.
With that function in mind, I started searching the Internet and found the app Cortex Cam. According to the specifications, the app takes noise-free photos in dark conditions. Even without a tripod.
iPhone app for night photography Cortex Cam
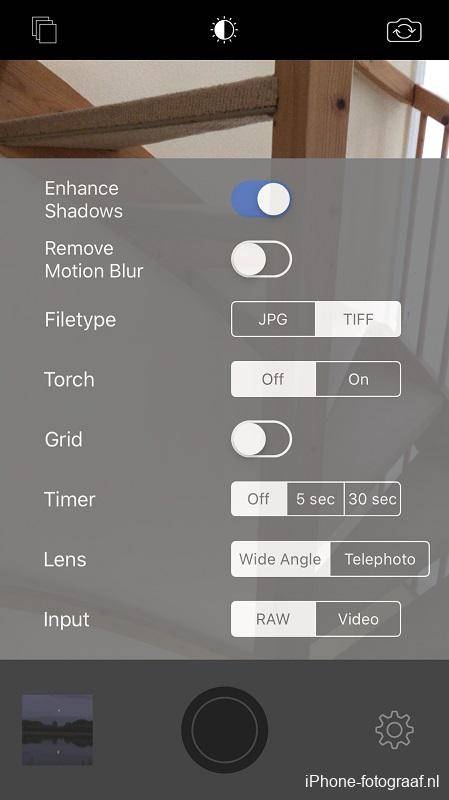
This app makes multiple RAW photos (iPhone 6S or later) of the scene and combines them into one photo. The file format can be set to TIFF or JPG. The TIFF files are uncompressed and much larger than JPG, but have the advantage that they are better suited for editing.
In the automatic mode you can make the image darker or lighter with the exposure compensation. You can manually set the number of images and choose shutter speed priority or ISO priority. With this app I always shoot in automatic mode with the standard settings.
Shooting night photos with Cortex Cam
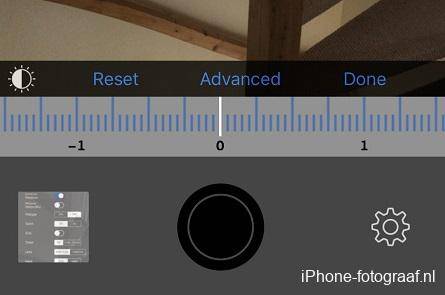
Tap the settings gear at the bottom right and the exposure compensation circle at the top of the screen. Swipe left or right on the bar at the bottom to make the image lighter or darker.
Tap the shutter button to take the photo. It is important that your subject stands still.
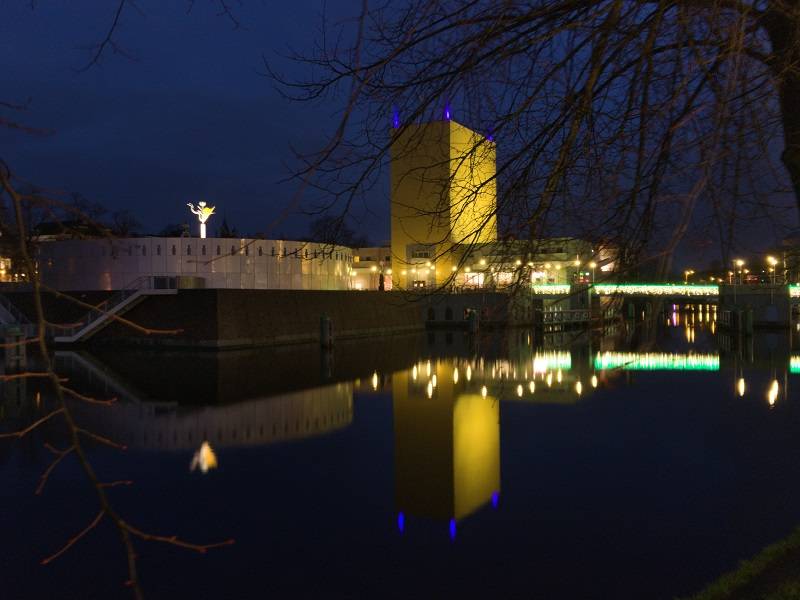
The photo of the Groningen Museum (the 1st photo on this page) was made with an iPhone 6s without a tripod. Cortex Cam was set in automatic mode and the photo was saved as TIFF (60-70 MB per photo). There are enough details visible in the light and dark parts so the dynamic range is good and there is little noise.
Night photography with the native iPhone Camera app
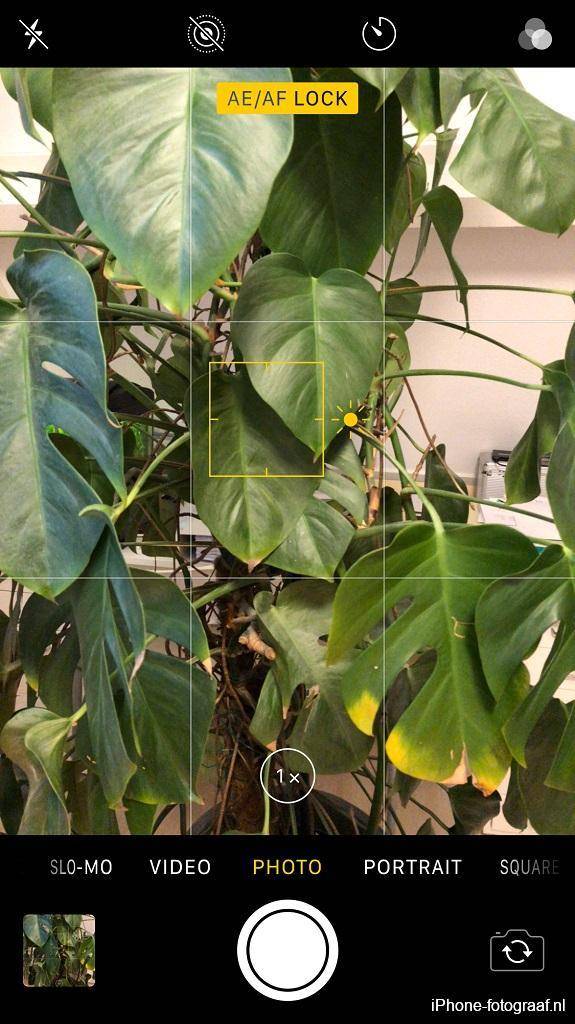
The exposure compensation and AE/AF lock
It is difficult to make night photos with the iPhone Camera app, because you have few manual settings. To prevent dark and blurred photos, the app will first lower the shutter speed to an exposure time that can still be photographed by hand. The ISO will then go up in steps, resulting in noise. To prevent that, you can try to make the photo a bit darker with the exposure compensation.
Tips for night photography with the iPhone Camera app
- Turn on HDR. The camera then takes multiple photos with different exposures and merges them into one.
- Use the Burst mode by continuing to press the shutter button with your finger. The camera then takes photos in quick succession, so that you can later select the nicest.
- Experiment with exposure compensation and the AE/AF lock in poor lighting conditions.
- Make sure the subject is stationary to prevent camera shake.
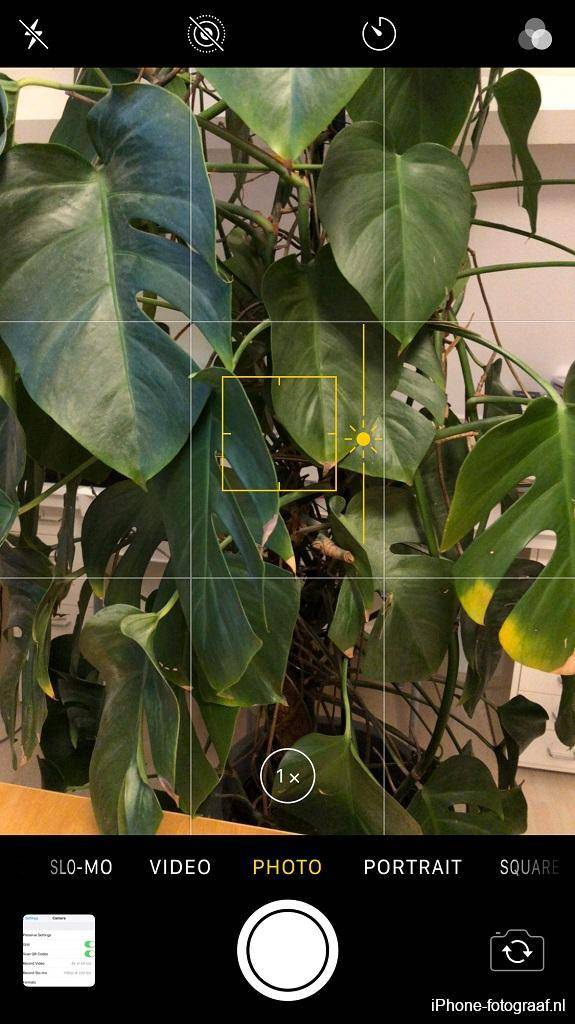
For the exposure compensation, tap on the subject in the screen (the focus point) and then swipe down (darker) or up (lighter) with your finger.
With AE/AF lock, you can lock the focus and exposure and determine the composition, without the camera focusing again and changing the exposure. For AE/AF lock, hold your finger on the screen until AE/AF lock appears. You can release the AE/AF lock again by tapping the screen.
 |  |
Night photography with the Night Mode on the iPhone 11 and 11 Pro
Night Mode on the iPhone 11 turns on automatically in low light. At the top left of the screen you will see the yellow Night Mode icon appear with the automatically selected exposure time in seconds.
iPhone 11 Night Mode Settings
Tap the Night Mode icon to increase the exposure time or to turn off the Night Mode. Swipe your finger on the slider to the left to increase the exposure time to Max. or to the right to turn off Night Mode.
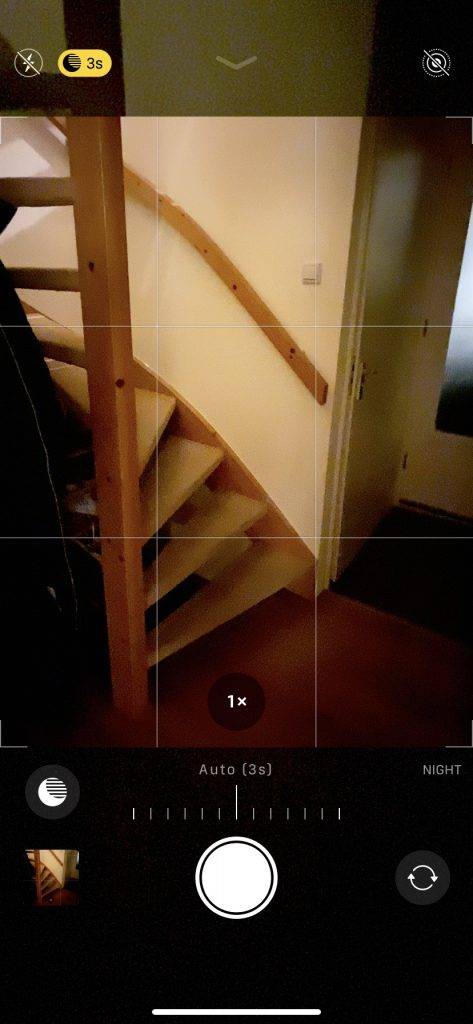
The maximum exposure time depends on the amount of light. If it is very dark and you use a tripod, you can illuminate for up to 30 seconds. If the exposure is set to maximum, the slider will indicate the remaining time during shooting.
In Night Mode you cannot flash or take Live Photos. Night Mode is not available for the super wide-angle lens.
Shooting in Night Mode
Night Mode uses long exposure times. Therefore, keep your iPhone 11 as still as possible while shooting and ensure that your subject does not move. When starting and stopping you hear the sound of the shutter.
Experiment with the exposure compensation and the exposure time to make the photo darker or lighter.
iPhone 11 Night Mode video
This video from Apple demonstrates the iPhone 11 Night mode.
Examples of iPhone night photos
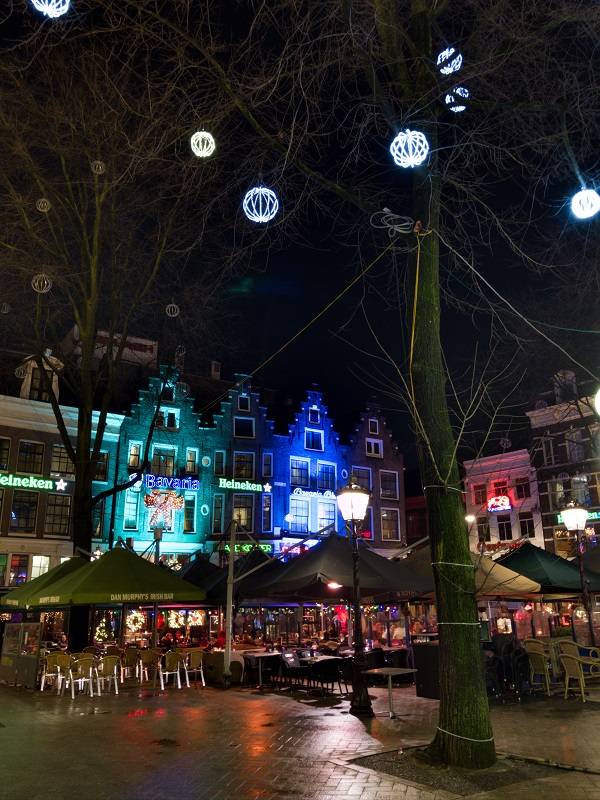
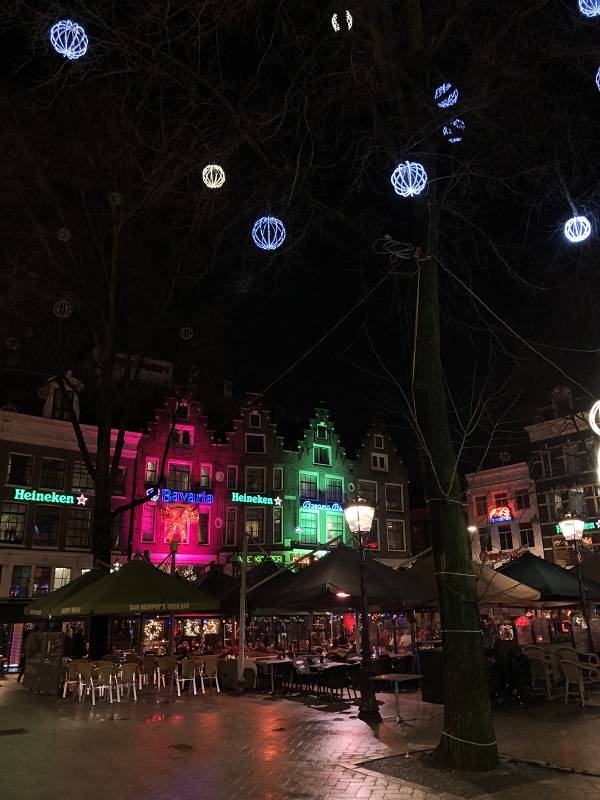
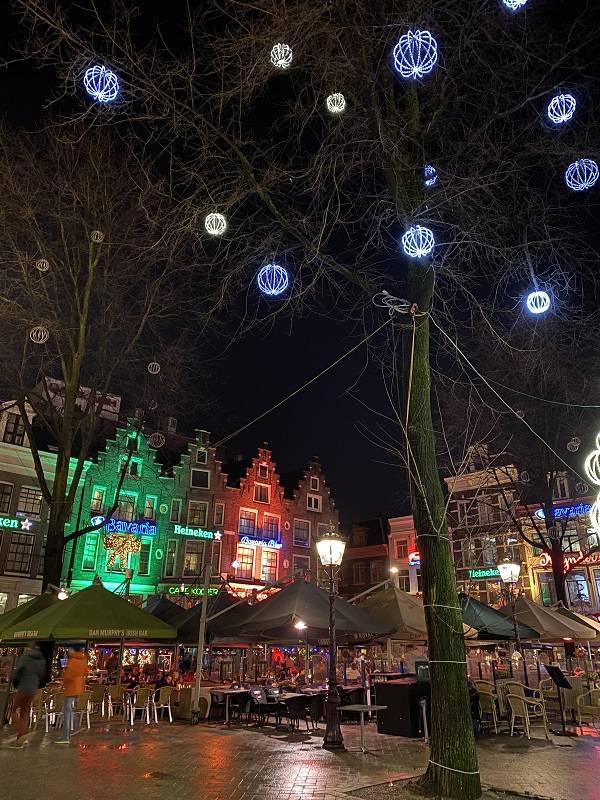
These three photos were taken with Cortex Cam, the native iPhone Camera app and the iPhone 11 night mode. The exposure was set to automatic.
I took the first photo with Cortex Cam and an iPhone 8 Plus. There are many details visible in the dark and light areas and there is little noise.
The photo I took with my iPhone 8 Plus and the iPhone Camera app is sharper, but little or no detail is visible in the dark parts. Little noise is visible in this photo either.
The photo taken with the Night Mode on the iPhone 11 is the sharpest and shows the most details. No noise is visible, but the photo is lighter than it actually was.
Conclusion
Night Mode on the iPhone 11 takes the most beautiful night photos. If you have an older iPhone model, then you can take great photos of well-lit subjects with the HDR mode of the iPhone camera app. However, if it is very dark, Cortex Cam gives better results.
Download
Cortex Camera (App Store)
Read my blog about shooting Light Trails or go to the overview with all iPhone photography blogs.