Introduction iPhone 8 Plus telephoto lens and Portrait mode
In Portrait mode of the iPhone 8 Plus you can take photos with a beautiful blurred background (Bokeh). Photos with a blurred background are found to be nicer, because the subject in the foreground gets all the attention. SLRs with their large sensors and telephoto lenses can reduce the area that is displayed sharply (depth of field), so that photos get a blurred background. The iPhone 8 Plus can simulate a shallow depth-of-field by calculating a depth map with the photos of the iPhone 8 Plus telephoto lens. This depth map is then used to separate the foreground and background and to blur the background. Portrait mode was already available on the iPhone 7 Plus, but new on the iPhone 8 Plus and the iPhone X is Portrait Lighting. With Portrait Lighting it is as if a lamp is aimed at the subject.
Content
Click on a topic to jump to it.
The iPhone 8 Plus telephoto lens
The Portrait mode of the iPhone 8 Plus
- How to take a photo in the iPhone 8 Plus Portrait mode
- Examples of the iPhone 8 Plus Portrait mode
- The bokeh effect of the iPhone 8 Plus Portrait mode
Portrait Lighting of the iPhone 8 Plus
Edit the portrait photo
- Videos from Apple about creating and adjusting photos with Portrait Lighting
- Adjust the focal point with the Focos app
The iPhone 8 Plus telephoto lens
The iPhone 8 Plus has a dual camera with a 28 mm wide-angle lens and a 56 mm telephoto lens. In Portrait mode, you zoom in with the telephoto lens, but you can use the telephoto lens without the Portrait mode. The photos of the Christmas tree clearly show the difference between the 28 mm and 56 mm lens.
The advantages of the iPhone 8 Plus telephoto lens
- With the telephoto lens you can more easily get your subject in full screen.
- You have less distortion when shooting close-up photos. That is especially important for portraits. With the photos of the bottles you can see the difference in distortion between the lenses.
- The distance between the foreground and the background appears to be smaller, so that objects appear larger in the background. The windmill in the background is much larger on the photo taken with the telephoto lens.
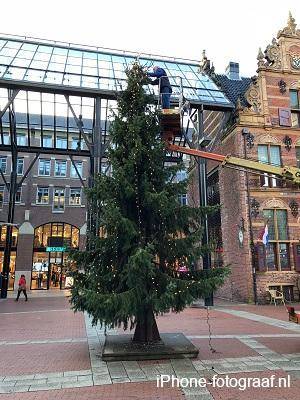 Wide angle lens 28 mm Wide angle lens 28 mm |
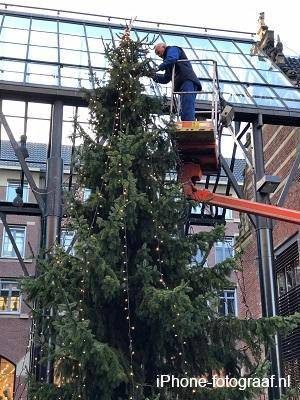 Telephoto lens 56 mm Telephoto lens 56 mm |
 Wide angle lens 28 mm Wide angle lens 28 mm |
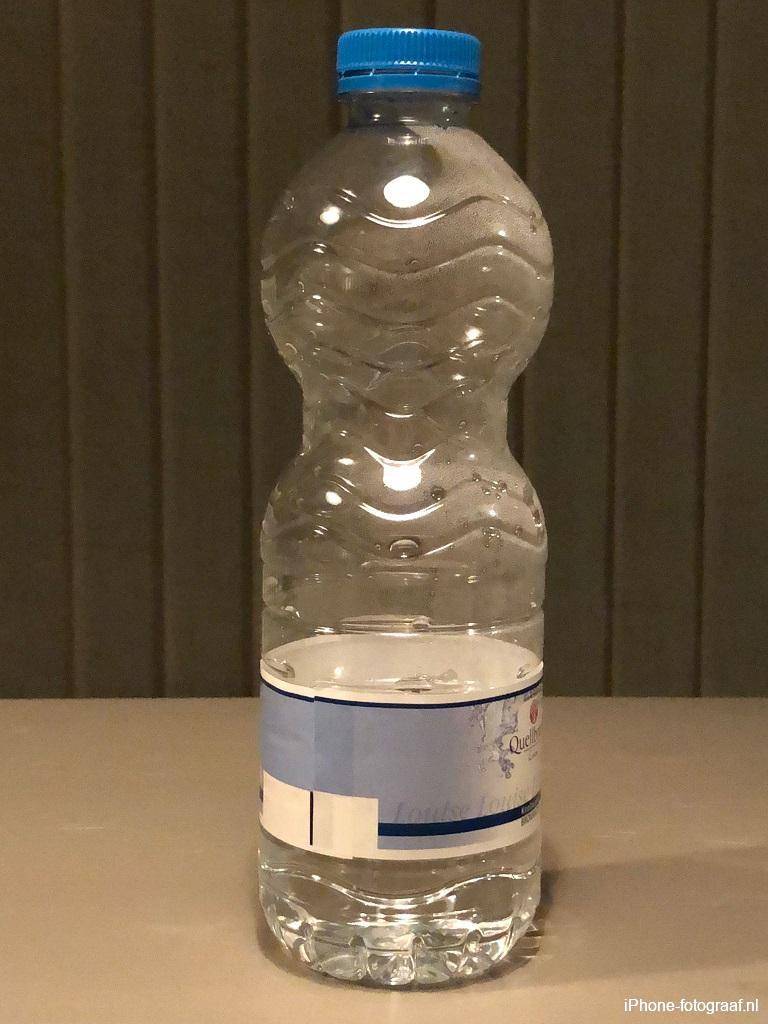 Telephoto lens 56 mm Telephoto lens 56 mm |
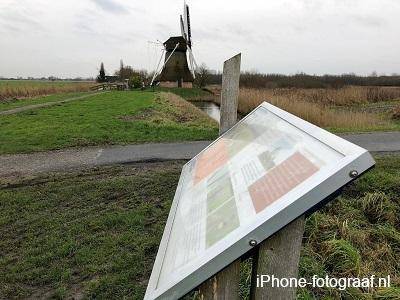 Wide angle lens 28 mm Wide angle lens 28 mm |
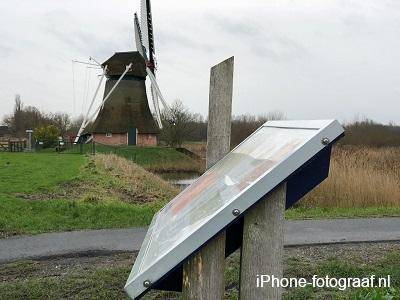 Telephoto lens 56 mm Telephoto lens 56 mm |
Zoom with the iPhone 8 Plus telephoto lens
You can zoom optically by tapping 1x or 2x to switch between the wide-angle lens and the telephoto lens. You can further zoom in digitally by pressing and holding this button. Optical zoom has the advantage over digital zoom that there is no loss of quality. Instead of digital zoom, it is better to crop the photo with an editing program.
Video how to shoot with zoom
The iPhone 8 Plus Portrait mode
How to take a photo in the iPhone 8 Plus Portrait mode
Open the iPhone Camera app and select Portrait mode. You will receive instructions about the distance and you will be notified if there is too little light. With the right distance and sufficient light, the selected Portrait Lighting is displayed in yellow and you see the background blur. Faces are recognized and framed and you can also tap your subject to get it sharp.
The Portrait mode of the iPhone 7 Plus works in the same way.
Examples of the iPhone 8 Plus Portrait mode
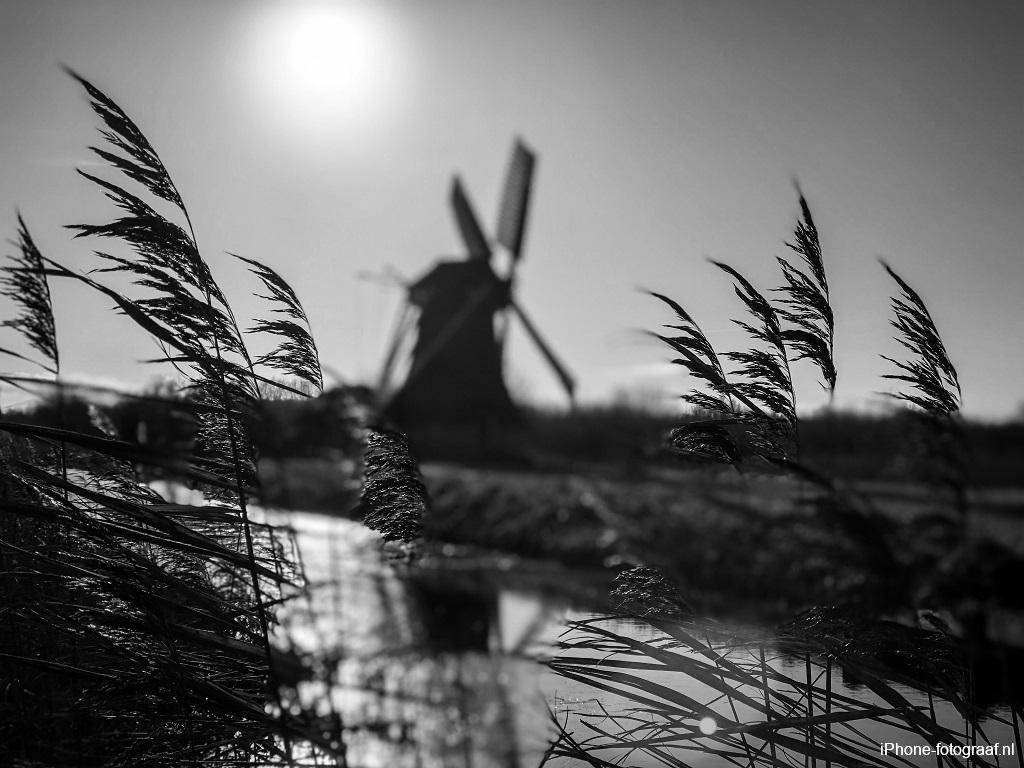
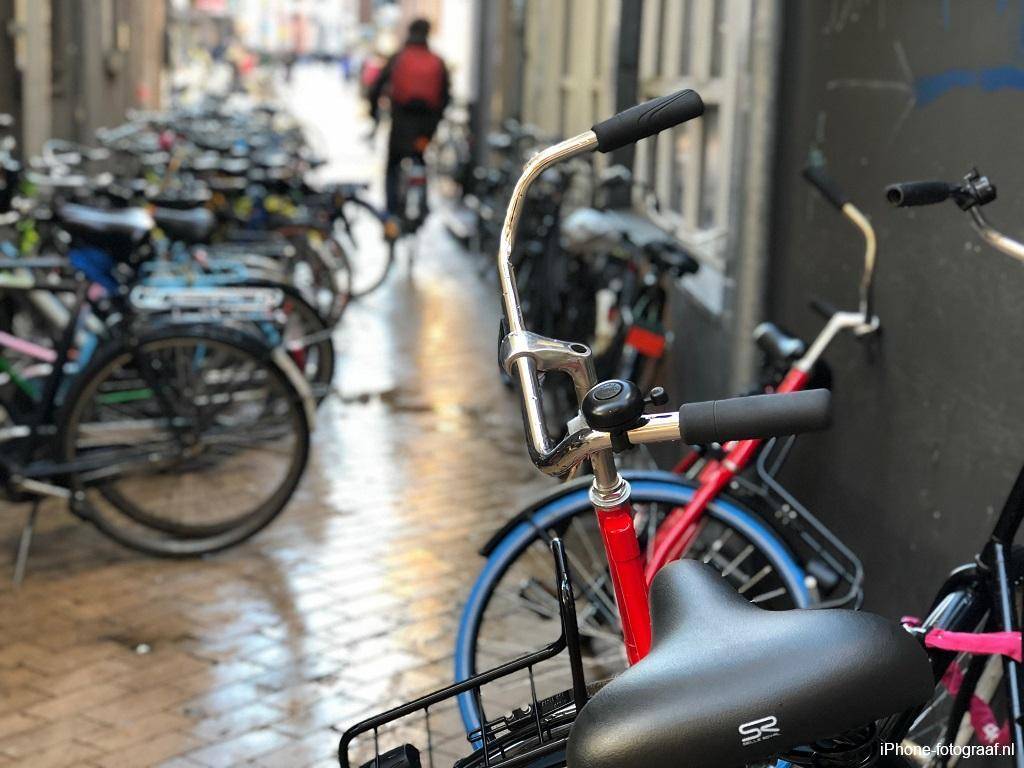
Portrait mode is also suitable for subjects other than portraits. Objects with sharp edges and a quiet background work best. The camera and your subject should not move too much. On the photo of the windmill you can see that the reed was too erratic and the reed stalks moved. On the photos of the bikes and the greengrocer, the background blur has been successful.

The bokeh effect of the iPhone 8 Plus Portrait mode
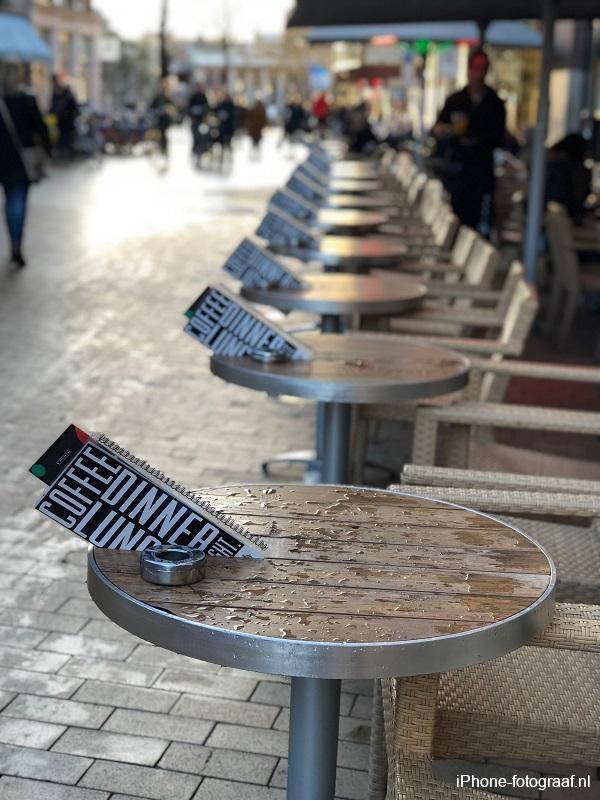
The farther the background and the closer to the subject, the more blurry it becomes. The bokeh effect of an SLR camera works the same way. On the photo of the terrace you can see that the farther away the blurrier the tables appear.
Portrait Lighting
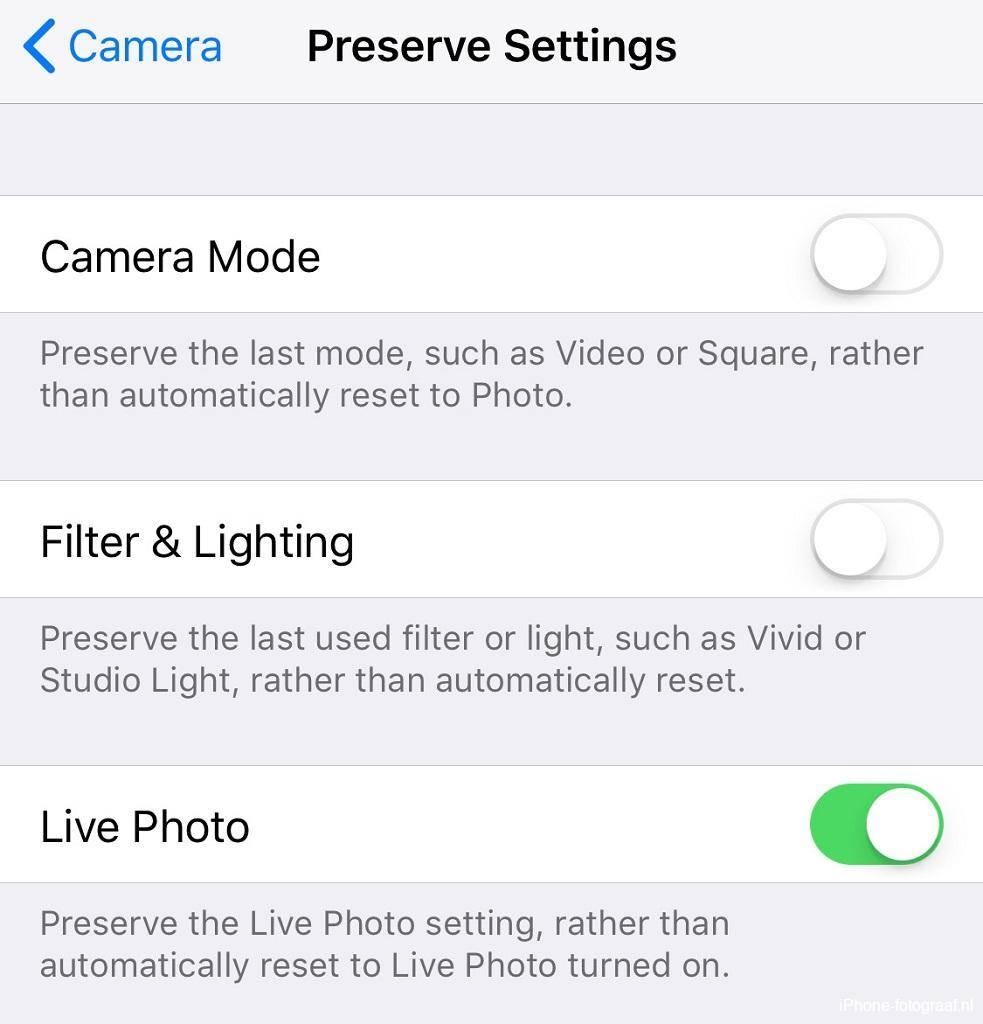
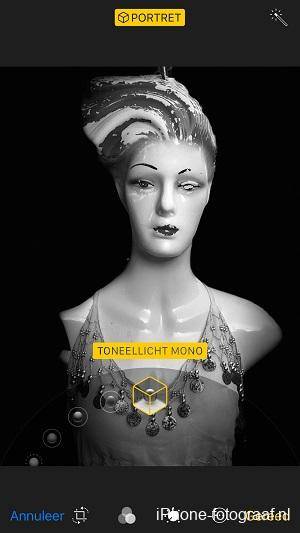
With Portrait Lighting, it looks like a spotlight shines on your subject. There are 5 lighting effects and by default Natural Light is selected. You can change the lighting effect in Portrait mode or adjust it later in the photo app. In the camera settings you can choose with which lighting effect the Portrait mode should start.
The lighting effects
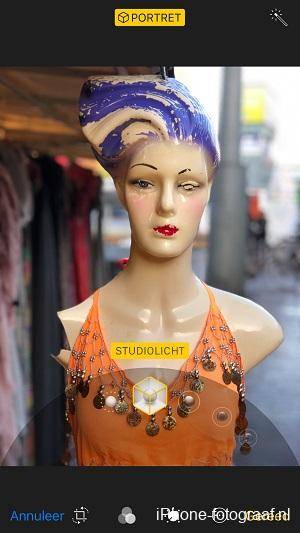
- Studio Light illuminates a face so that a flash is not always necessary.
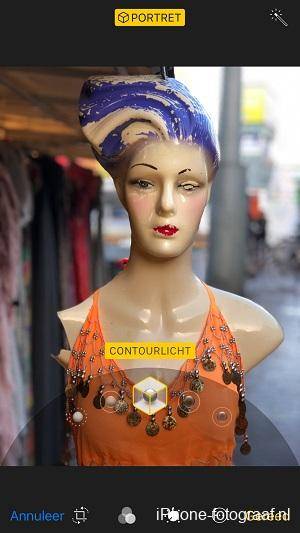
- Contour Light makes shadows dark.
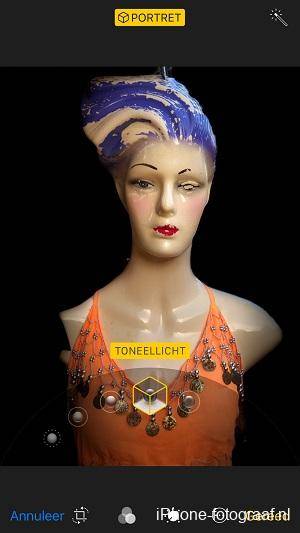
- Stage Light and Stage Light Mono illuminate the subject and make the background black.
The Portrait Lighting does not always work well, but the software is still under development. The amount of light, the edges and the contrast are decisive for the success. Portrait Lighting uses the depth map and face recognition to change the exposure. The effect is not always clear and you can try out the different lightings in the Photos app.
 |
 |
 |
 |
Edit the portrait photo
Just like for panoramas and Live Photos, a separate album is automatically created for portraits in the Photos app. In the Photos app you can edit the photo with filters and change the lighting effect or remove the Portrait mode. Your adjustments can be undone. Unfortunately, it is not possible to make the portrait photos in RAW.
Videos from Apple about creating and adjusting photos with Portrait Lighting
Adjust the focal point with the Focos app
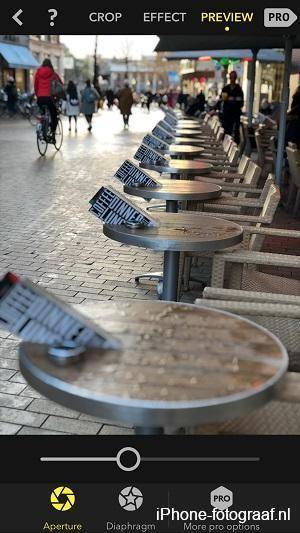
Apple has given app developers access to the depth map of a portrait photo. With the Focos app (App store) you can take or import portrait photos and adjust the background blur. You can also move the focal point by tapping the photo. I moved the focal point in the photo of the terrace to the middle so that the foreground and the background are blurred.
Read this blog about blurring the background if you have an iPhone without a dual camera or go to the overview with all iPhone photography blogs.