What is an iPhone Live Photo?
An iPhone Live Photo is a photo with 3 seconds of video with sound. To take a Live Photo, open the iPhone Camera app and select the Photo mode. In the Photo mode, the Live Photos function is enabled by default and you can turn it off by tapping the Live Photo icon at the top of your screen. Because of the file size of a Live Photo and to save storage capacity, I recommend that you do not enable the feature until you take Live Photos. The iPhone Live Photo is taken the moment you press the shutter button and the video recording is started 1.5 seconds before and stopped 1.5 seconds after the photo (keep this in mind when shooting).
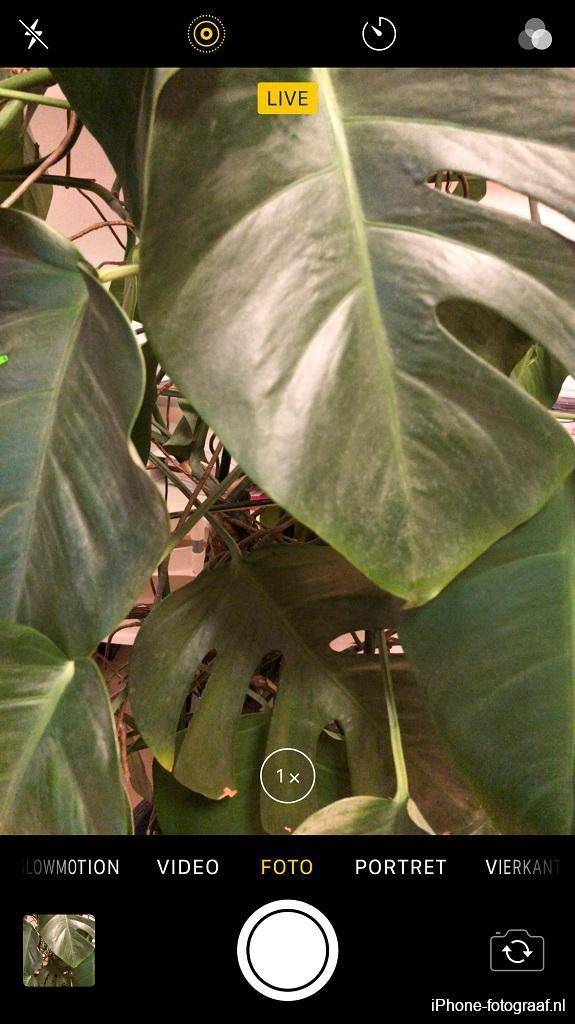
Live Photo is enabled. The word Live appears during recording.
Play and edit Live Photos
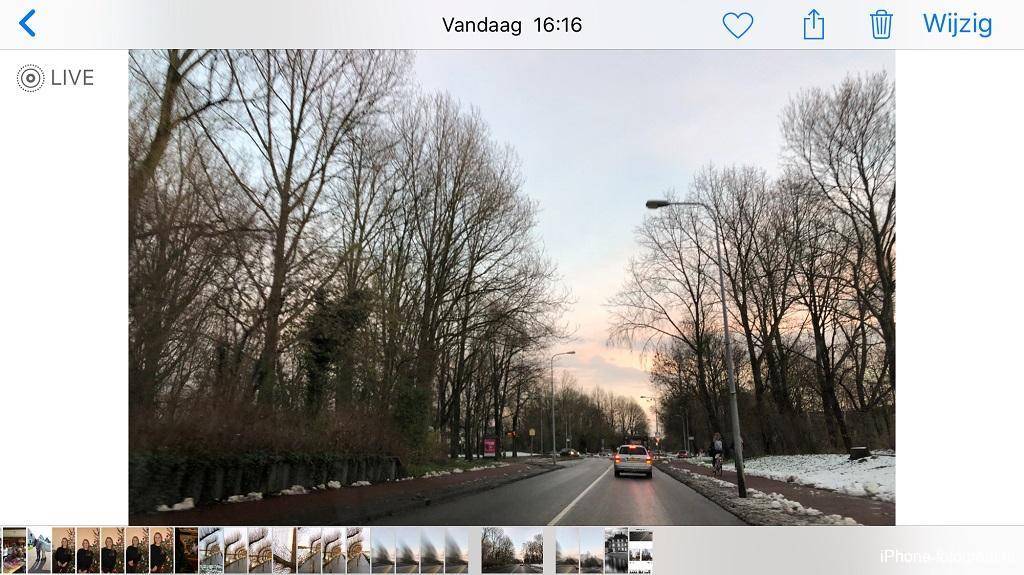
Live Photos have their own automatically created album in the Photos app. You can play a Live Photo by tapping the photo with your finger and keep pressing until the 3 seconds of video is played. A Live Photo can be recognized by the Live icon in a photo that is opened in full screen. Tap edit for the editing tool. You can, among other things, apply filters (for example, convert to black and white), change the format, switch off the sound, adjust the lighting and the colors, convert to a normal photo without video and apply special Live Photo effects. All adjustments can be removed by selecting recovery / back to original.
A Live Photo in the Photos app. Click on edit to edit the photo.
Change the key photo
You can select the most beautiful image of an Live Photo afterwards. Play the Live Photo by pressing the photo with your finger until the 3 seconds video is played. The best moment of the recording can be set as the Key Photo. To do this, open the Live Photo and then tap Edit. A slider appears at the bottom, with which you can set another image as the Key Photo. I have added a video instruction.
The special Live Photo effects
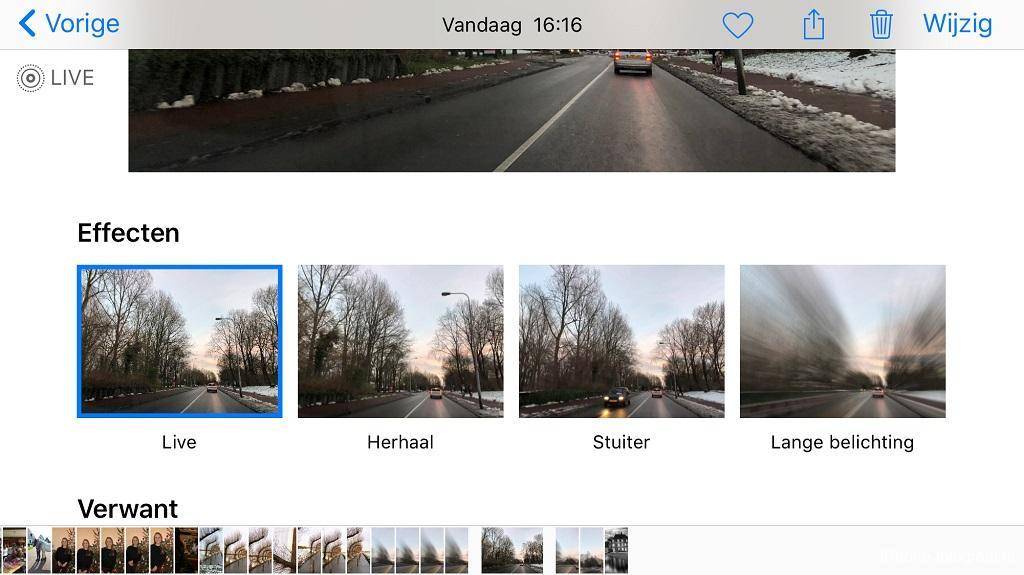
How to use the special Live Photo effects
The special Live Photo effects can be reached by swiping the photo up, after which you can choose from Live (default), Loop, Bounce and Long exposure. With the effect Bounce the video plays back in the opposite direction at the end and starts again.
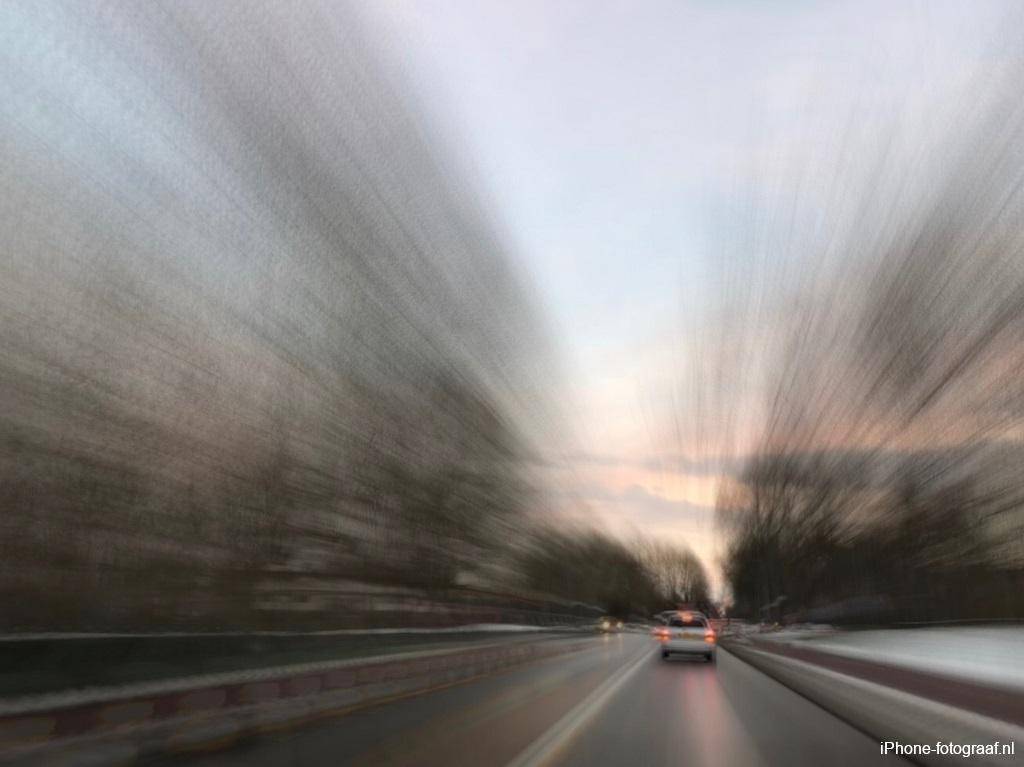
Long exposure in particular is interesting for photographers. With long exposure, the individual images of the video are combined into one photo and the moving objects are blurred. You don’t need a tripod.
The special effect Bounce
The result of the special Live Photo effect Long Exposure.
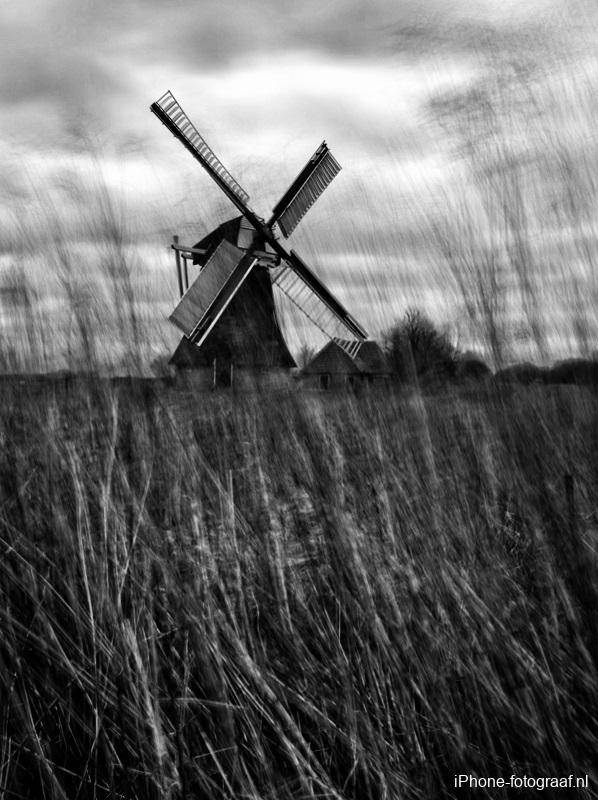
I converted the photo of the mill to black and white with Snapseed.
Save your Live Photos as a video
Apple has added a feature to the Photos app in iOS 13 and iPadOS, which allows you to merge multiple Live Photos into one video.
To save multiple Live Photos as a video, open the Photos app. Then tap Albums and in the Media Types overview on Live Photos. To select the Live Photos you want to add to the video, tap Select at the top right and then tap the photos. Tap the share button at the bottom left and select Save as Video. The video is saved and you can then share it on social media. I also added an instruction video.
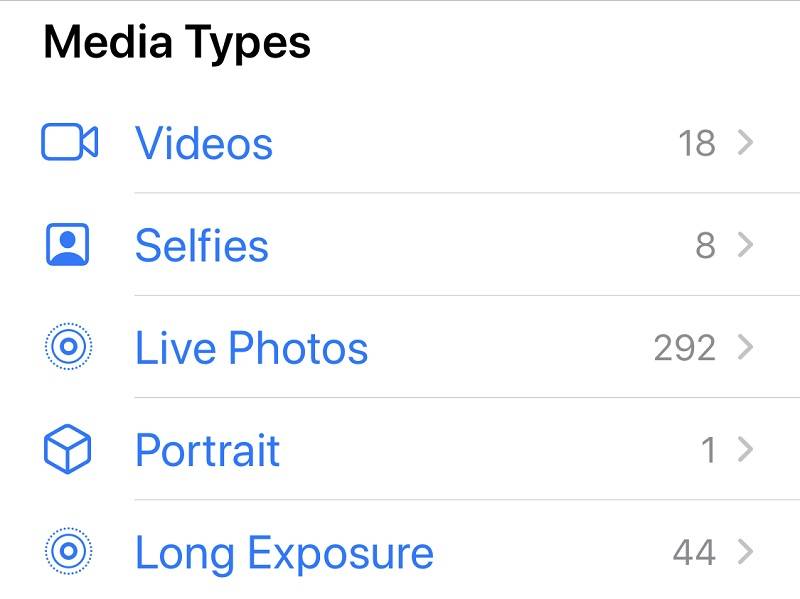
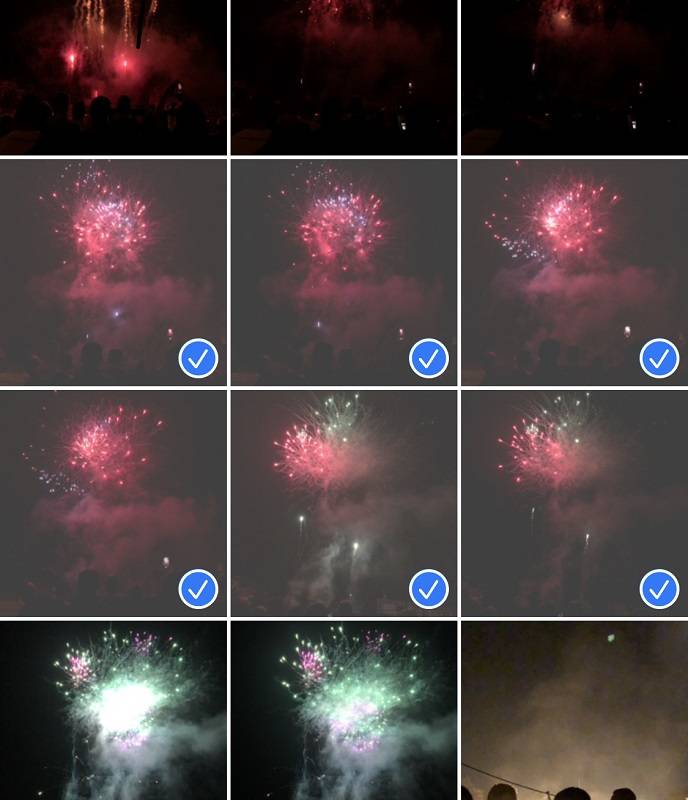
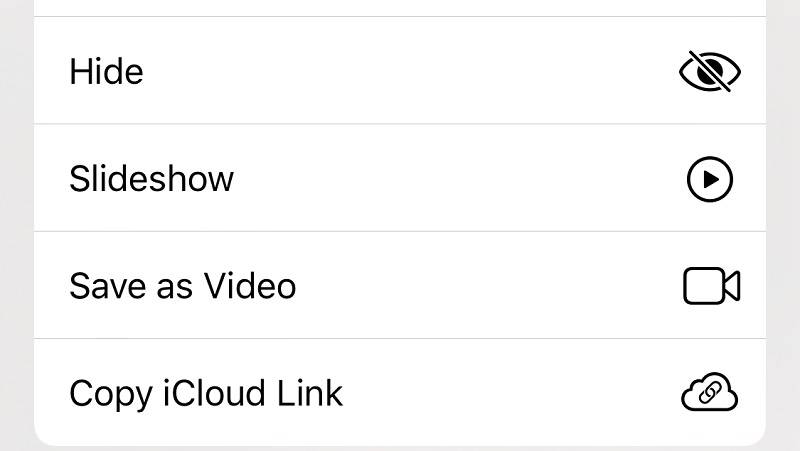
Video: How to save Live Photos as a Video.
It only works for Live Photos that are unprocessed. If photos have been selected for which you have applied an effect, then you cannot choose Save as video.
Share a Live Photo as a Gif animation
You can find Live Photos to which you have applied the Loop or Bounce Live Photo effect in the With Animation folder of the Media Types list. These photos are automatically copied as Gif animation during sharing. Open the Photos app and tap Albums. Swipe your finger up for the Media Types list and tap Animated. Open or select the Live Photo you want to share and tap the arrow in the lower left corner.
Live Photos manual.
Read also my blog about HDR iPhone photography or go to the overview with all iPhone photography blogs.